
To thoroughly explore a book’s subject-matter and ensure authenticity in my storytelling, I begin drawing from direct observation and photographic reference.
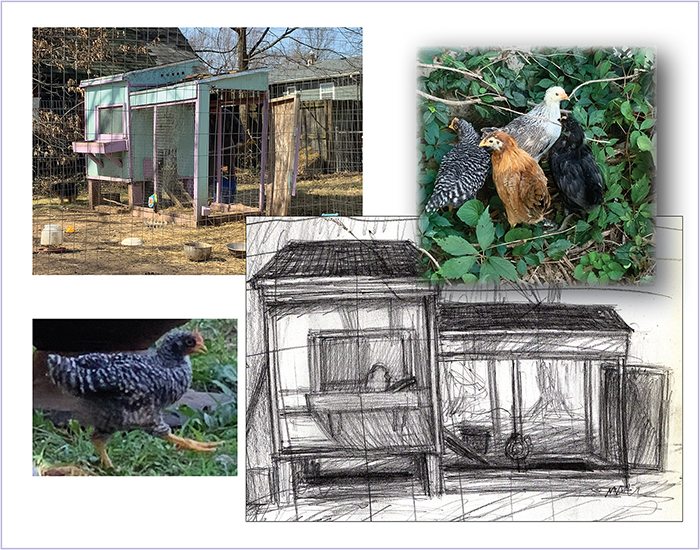
The studies shown here are for my latest picture book project, Arnie and Zippy, based on actual events, about a boy who devises a science exhibit proving that chickens see a range of color and can be trained to pick one color over another.
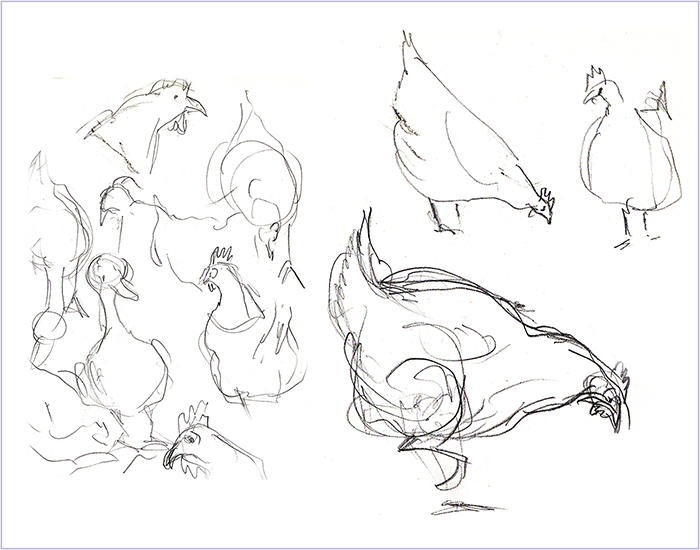
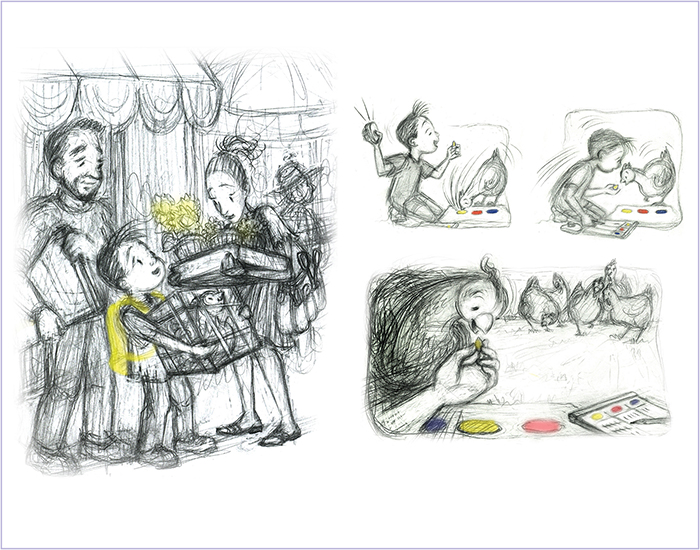
I also do loose gesture drawings from life to depict easily recognizable human and animal movements and expressions.
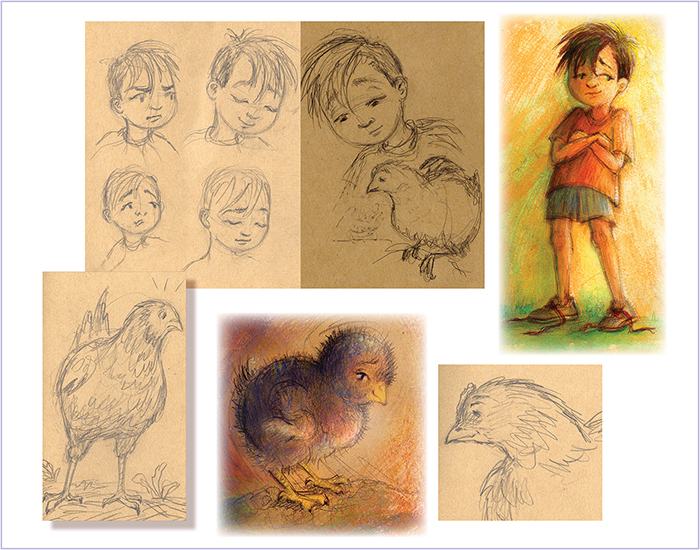
Next, I work on capturing nuanced emotions and believable poses in my principle characters–in this case Arnie and Zippy.
After giving Arnie and Zippy their unique personality, I show them interacting with their environment, each other, and key characters in their world, such as Arnie’s parents and members of the flock in the story.
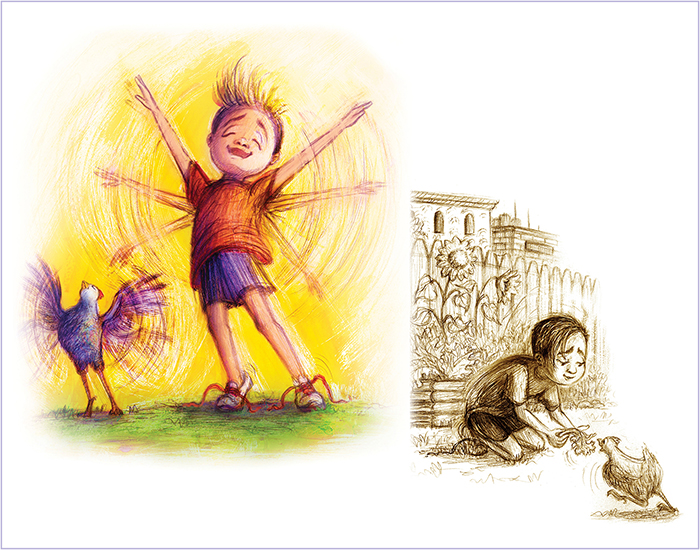
These fictional images are based on actual chicken behavior.
Left: The natural way for chickens to stretch is to stand tippy-toe while flapping their wings.
Right: Garden greens are recommended for a balanced diet.
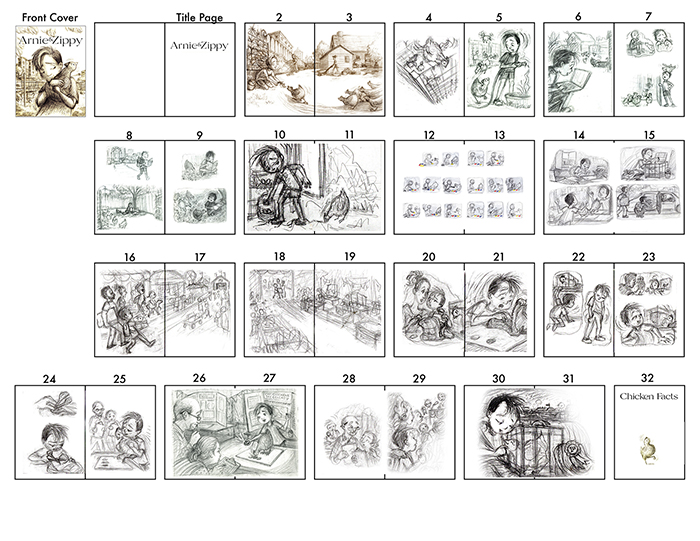
Next, I begin storyboarding a series of rough sketches to map out the basic plot-line and layout of each spread in the book.
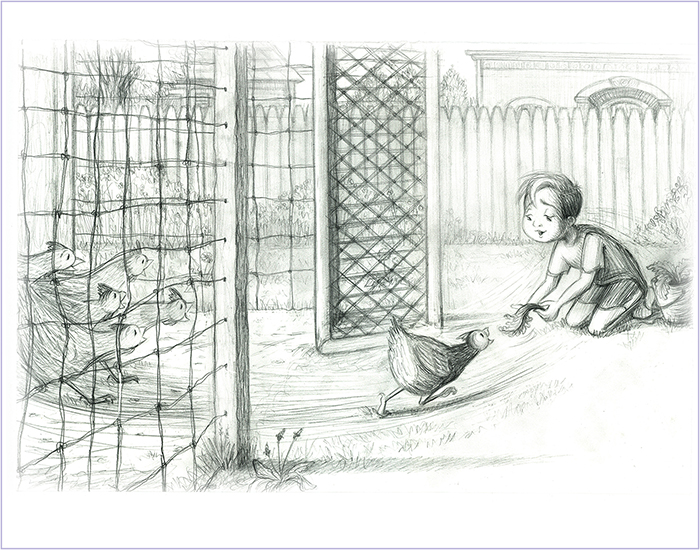
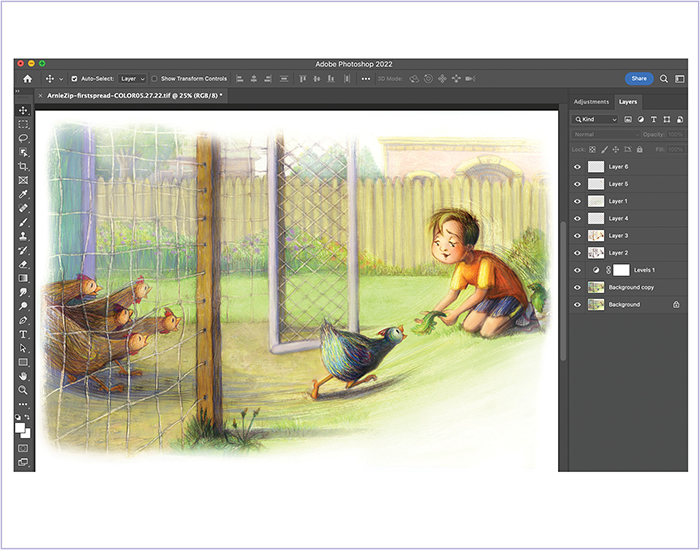
After storyboarding, I create 2 – 3 full-color illustrations of key scenes in the story to establish the mood, style, and lighting of the book.
My approach combines traditional and digital techniques in a process I’ve named “Drawing Like a Printmaker.” First, I scan the original pencil drawing and print it on watercolor paper.
Then on the print, I paint with acryla-gouache and pop details with prisma color pencils. To achieve highlights, blending, and texture, I scratch with sand paper and Xacto knife.
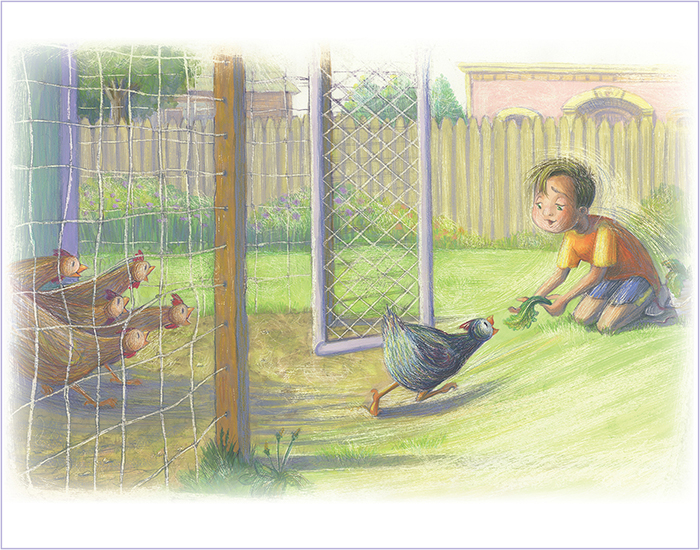
Next, I scan the painting and overlay the original drawing scan in Photoshop. And finally, I make edits to lighting, color, and value contrasts using Photoshop Adjustment Layers.
Once I have the plot, storyboard sketches, and color illustrations, I place them in a book proto-type, or dummy. Then, I add text and read the book out loud to synchronize page turns with the rhythm and flow of the action. As with writing, the dummy goes through several revisions before arriving at the polished narrative, suitable for a publication proposal.
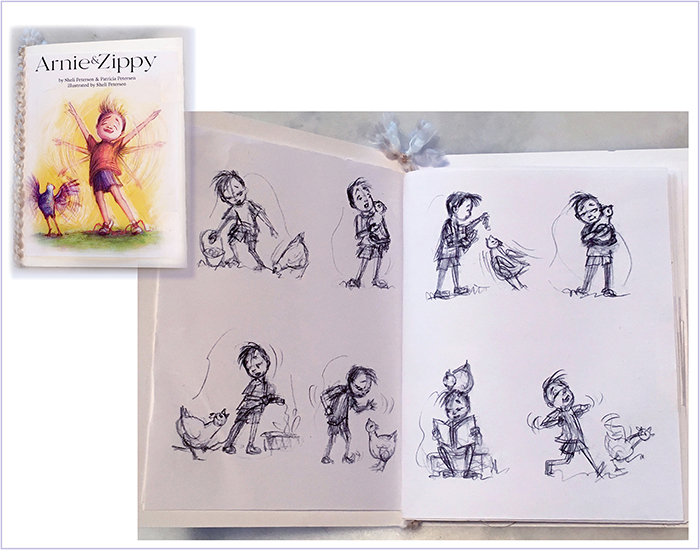
Arnie and Zippy work-in-progress dummy - cover and end pages
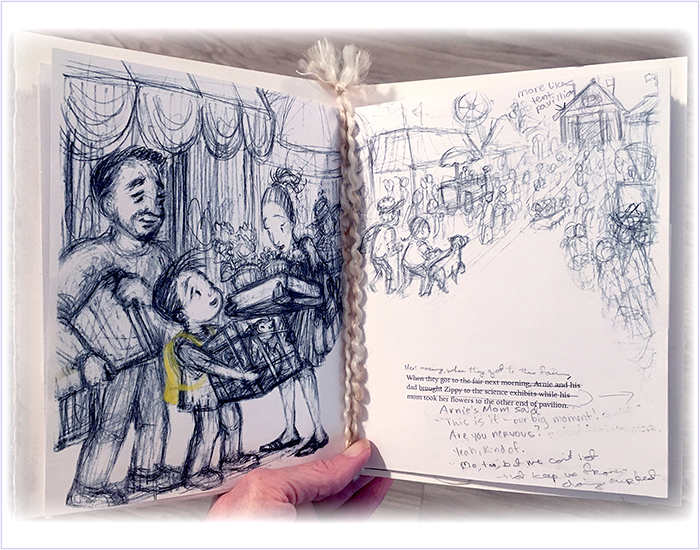
Arnie and Zippy work-in-progress dummy - interior spread with edits to text.